Tuesday, June 30, 2009
Monday, June 29, 2009
TheDieline.com
I'm a sucker for packaging. I'll buy anything if is designed in an aesthetically pleasing way. I totally buy Target's Archer Farms brand just to have pretty boxes and jars in my pantry. TheDieline.com found via How About Orange, is a dream blog for people like me. They just have page after page of unique, beautifully designed packaging. TheDieline.com calls themselves the # 1 packaging design website. Here is their mission statement:
The Dieline is dedicated to the progress of the package design industry and its practitioners, students and enthusiasts. Its purpose is to define and promote the world’s best examples of packaging, and provide a place where the package design community can review, critique and stay informed of the latest industry trends and design projects being created in the field.
Picked in June Olive Oil, a boutique olive oil company in Australia. Designed by Watts Design. The photograph was taken on their property in central Victoria.
Clover Farmstead Butter. Designed by Voicebox Creative. The label is pressure sensitive so it peels off easily so the crock can reused time after time. I love this. There's nothing worse than label residue left on containers. (Although this label is so pretty that I might just leave it on.)
Albert Menes Sardines. Designer unknown.
I'd never eat them, but I'd buy them just to have that lovely box.
Friday, June 26, 2009
Win the Ornaments from Yesterday's Post!
Happy Friday everyone! I had so much fun crafting yesterday that I made an extra set of ornaments. If you would like to enter to win, just leave your name and a comment on my blog. The winner will be chosen at random next Friday, July 3rd. Just in time to kick off your holiday weekend!
Thursday, June 25, 2009
Thrifty (and Crafty) Post #3
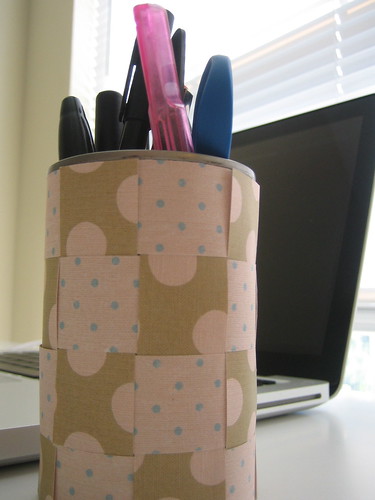
I woke up this morning with a case of the blahs. I've caught a summer cold and have been feeling slightly under the weather for the past few days. So I decided to work on some crafts to cheer myself up. I've been saving those ubiquitous Campbell's soup cans, ideal for pencil cups. A new one for my desk was the perfect project for today.
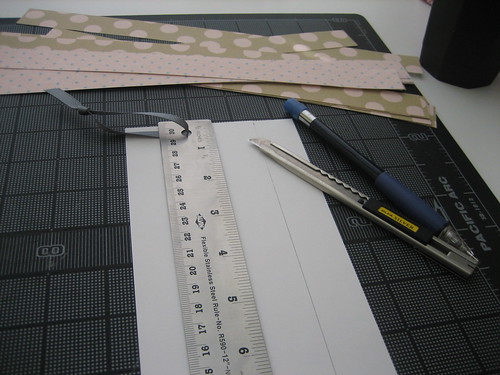
I started off by measuring and cutting 1" x 11" strips of Martha Stewart patterned paper.
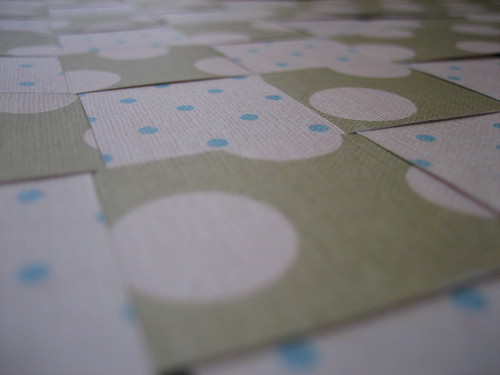
Then I wove the strips to make a basket weave pattern. Make sure to glue each strip together at the sides. Glue dots worked perfectly for this.
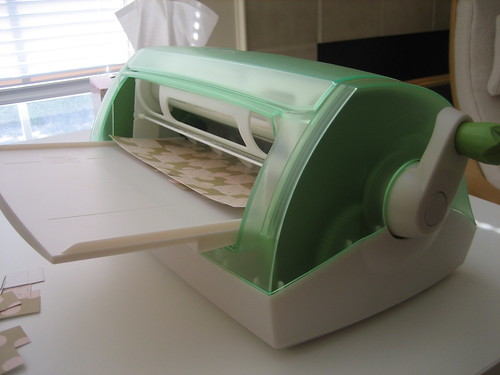
A quick zip through the Xyron machine... (the best invention ever!)
to give it an adhesive backing.
Wrap around your Campbell's soup can and you have yourself a cute pencil cup! I love that the weave pattern gives it a little bit of a textured look, almost like fabric.
Since I had some left over strips of paper, I decided to make some of these hanging ornaments. It's such an easy and simple project and they certainly brightened up my day!
Wednesday, June 24, 2009
Jessica Rust Designs
Have you ever tried to find a great gift that was personalized but without the cheesiness factor? It's pretty hard, right? Look no further because Jessica Rust Designs is one of my favorite places for personalized dinnerware. Her designs are whimsical and the personalization is so discreet that it almost seems like a one of a kind piece made just for you.
My favorite is her birch tree collection. I actually gave these mugs to my friend Erin for her bridal shower. Who wouldn't want their initials etched on a tree for forever?! (But in a non-tree hurting way.)
She also has wonderful tea gift sets of city skylines. At $28 each these are unique and affordable gifts.
I'm absolutely in love with her Heart Bowls. The personalization is etched in to the gold a the bottom of the bowl. This might have to be a present to myself one of these days...
All photos by Jessica Rust Designs
Tuesday, June 23, 2009
Pretty Good
Sometimes I just want to look at pretty pictures. Pretty Good found via Decor8 is just the place to do that. Her photographs are stunning and I love how she incorporates the text right into the image. Treat your eyes to her blog. They'll thank you for it.
All photos by Pretty Good
Monday, June 22, 2009
There's something with the Blue
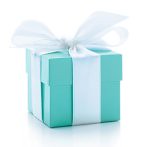
Have you ever noticed how Tiffany Blue and Martha Stewart Blue are very similar? I think it's so interesting how these iconic brands have packaging in the same hue. It's such a lovely color and I'm certainly drawn to it. What is it that makes this color so appealing to consumers? Someone should do a study on this!
Disclaimer: I apologize for the small, uneven sized pictures. HTML is driving me crazy! Why does it have to be so hard?!
Friday, June 19, 2009
Thrifty Post #2
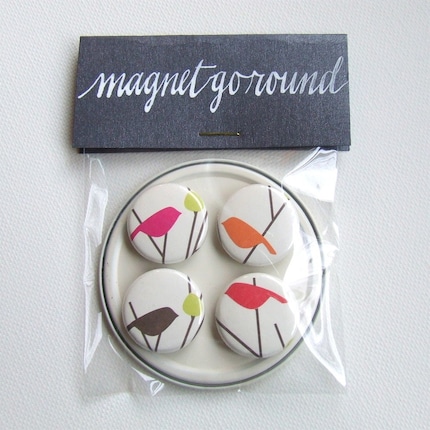
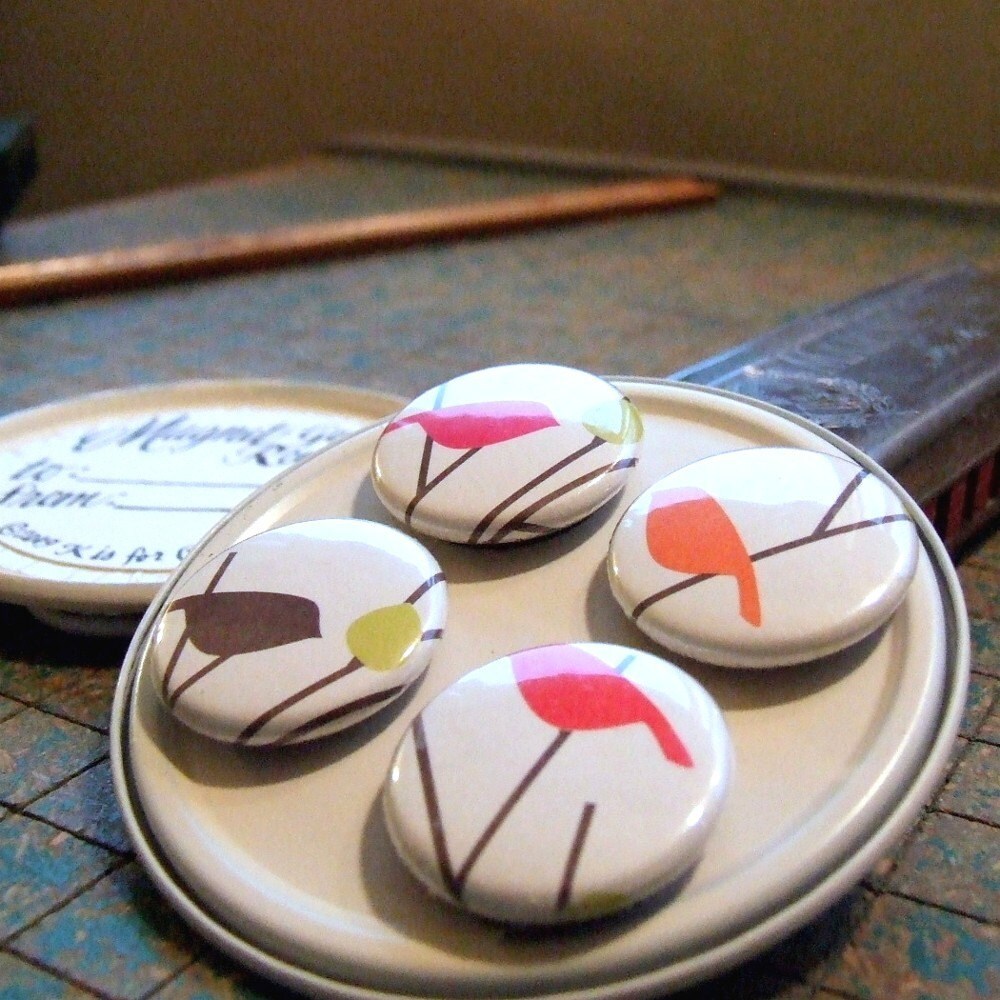
Unfortunately I can't take credit for Thrifty Post #2 but it was so good that I just couldn't resist sharing with you. Yesterday I was surfing Etsy when I found this wonderful store: K is for Calligraphy. I absolutely love her calligraphy and paper accessories. Everything is wonderfully packaged especially her magnet go-rounds. I've made a ton of magnets myself and the hardest part is packaging them so that they don't stick to each other and end up in a jumble. The little round disk that she used seemed to work perfectly. Turns out, the little round disks are the ends of the frozen orange juice containers that she had been saving for years. She just painted them white and added the hand calligraphed sticker on the other end. How clever is that?!
Sadly, it looks like the magnets are all sold out on Etsy. But I've found that sellers quickly replenish their stock so check back soon to see if they're re-listed.
Thursday, June 18, 2009
Jeans and a Tank
If it were 73 degrees and sunny out today I would wear this outfit. Instead I'm wearing sweats and a sweater and trying to ignore the gray rain out my window.
Sarah Richardson
If you haven't watched Design Inc. on the Fine Living channel, you must start watching NOW! Before I left Ithaca I DVR'd all of the episodes and had a Sarah Richardson marathon. I literally watched hours and hours of her show and I even got the hubby into it as well. The premise is simple. Sarah Richardson is a Toronto-based interior designer and she works with her clients to transform ho-hum spaces into absolutely gorgeous, livable rooms. But don't confuse her with the generic HGTV designers. She has impeccable taste and never misses a beat. In fact, I don't think I've ever disliked one of her rooms. The other great thing is that you see her sourcing the fabrics, visiting the vendors and scavenging flea markets for the perfect items to make the rooms come together. By watching you discover that design is a process and it takes patience and tenacity to see it through. Mostly I watch because her design sensibility is brilliant- clean and classic with an outstanding eye for colors and textures.
Wednesday, June 17, 2009
Erin & Matt's Wedding
I had the pleasure of helping my good friend Erin with some of her wedding stationery. She has fabulous taste and it was a wonderful collaboration all around.
We started off with the save the date. She came up with the concept and I designed it. The pictures were taken by Erin and were representative of each stage in their relationship. They met at the beach, the piano bar is one of their favorite date night spots, the heart cloud is a picture from a vacation in Paris and the bench is in the park where Matt proposed. Erin had them printed and on semi glossy paper and cut at Staples and we rounded the edges with a paper punch.
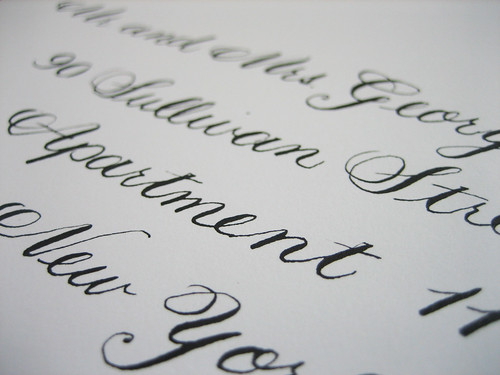
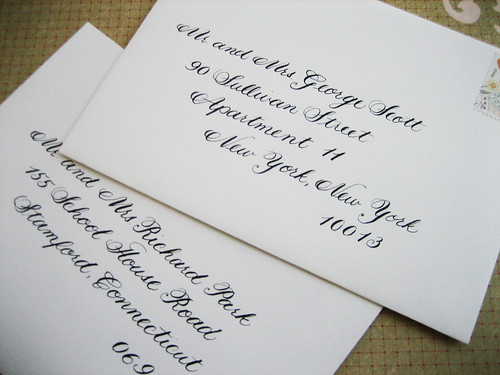
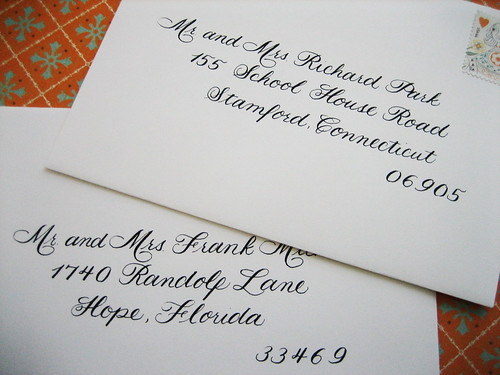
A few months later I did Erin's wedding invitation calligraphy. She wrote a cute post about it here.
We threw the bride-to-be a bridal shower and I created the favors: cute bud vases with a personalized tag.
Her cousin, Robbie, designed the beautiful wedding invitations and we carried the theme throughout.
I created the goodie bags for the wedding favors by designing a sticker from the monogram Robbie designed on the invitation. They were printed on adhesive paper and punched out with a round 2 inch hole punch. We stuck them onto white paper bags and trimmed the top off with pinking shears to give it a finished edge.
Finally I designed the wedding program for the hotel bags. The cover was based off of the invitation and we used the same fonts. We printed them double sided on 8 1/2 by 11 and folded them in half vertically.
We started off with the save the date. She came up with the concept and I designed it. The pictures were taken by Erin and were representative of each stage in their relationship. They met at the beach, the piano bar is one of their favorite date night spots, the heart cloud is a picture from a vacation in Paris and the bench is in the park where Matt proposed. Erin had them printed and on semi glossy paper and cut at Staples and we rounded the edges with a paper punch.
A few months later I did Erin's wedding invitation calligraphy. She wrote a cute post about it here.
We threw the bride-to-be a bridal shower and I created the favors: cute bud vases with a personalized tag.
Her cousin, Robbie, designed the beautiful wedding invitations and we carried the theme throughout.
I created the goodie bags for the wedding favors by designing a sticker from the monogram Robbie designed on the invitation. They were printed on adhesive paper and punched out with a round 2 inch hole punch. We stuck them onto white paper bags and trimmed the top off with pinking shears to give it a finished edge.
Finally I designed the wedding program for the hotel bags. The cover was based off of the invitation and we used the same fonts. We printed them double sided on 8 1/2 by 11 and folded them in half vertically.
Having a consistent theme through colors, fonts and designs ties all the special elements of a wedding together. It is an easy way to make your wedding memorable and distinctive.
Congratulations Erin and Matt... it was a beautiful wedding!
Tuesday, June 16, 2009
Best. Sandwich. Ever.
I'm obsessed with bacon, as most of my friends know. It is one of the single, most satisfying foods out there... crispy, salty, melt in your mouth yummy goodness. I make a killer BLT sandwich. My secret? Cooking the bacon in the oven at 400 degrees for 20-25 minutes. Lay the bacon out in a single layer on cookie racks over a foil lined (easy clean up) baking sheet so that the grease can drip down. Then sprinkle some brown sugar over the bacon so that it will melt and caramelize over the top. This method creates flat, perfectly crisp, caramelized bacon that is killer in a BLT. You know how to do the rest.
Library Card Shower Invitations
These are some shower invitations that I designed for my friend's cousin. The bride is a school librarian (hence, the library card and school theme) and her fiance is a drummer. Their style is relaxed and non-traditional so I chose kraft paper cards and envelopes to give it a more casual look. I ordered the library cards from Paper Valise and the names were stamped with individual letter stamps in red ink. I made the card holders by hand from manila folders. The pattern can be found here. I designed the card layout in InDesign, printed them out on adhesive paper and rounded the corners with a corner punch.
All packaged up and ready to go out